
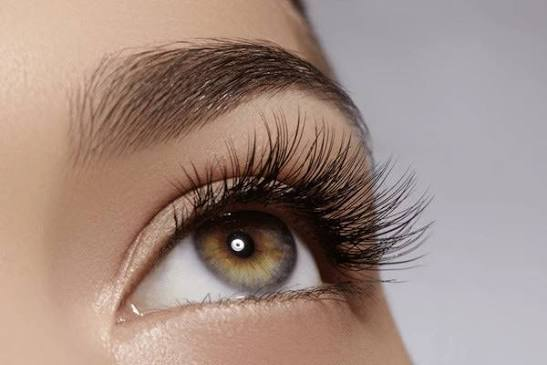
Cluster lashes have rapidly transformed the beauty landscape, offering beauty enthusiasts a versatile and accessible way to achieve a dramatic look without spending hours at a professional salon.
Unlike traditional individual extensions that require isolating a single natural lash, cluster lashes consist of small groups of synthetic fibres knotted or heat-bonded together at the base.
These fans allow wearers to cover more surface area quickly, providing a fuller, more voluminous lash line in a fraction of the time.
Whether you are aiming for a subtle everyday flutter or a dramatic, textured glam style, understanding how to apply, maintain, and remove cluster lashes safely is essential for protecting your natural eye health.
Understanding Cluster Lashes and Their Appeal
The main attraction of cluster lashes lies in their flexibility and ease of use. Traditional eyelash extensions can be time-consuming and expensive to maintain, often requiring bi-weekly fills.
Cluster lashes bridge the gap between temporary strip lashes and semi-permanent extensions. When applied correctly with professional-grade or semi-permanent bond, they can last anywhere from several days to over a week.
However, because multiple natural lashes can become tethered together under a single heavy cluster, proper application technique is paramount. According to guidelines outlined by government bodies like
Training.gov.au on applying eyelash extensions, proper isolation and adherence to safety protocols are crucial to prevent damage to the hair follicles and surrounding skin.
To truly master these advanced techniques, many aspiring technicians enrol in a comprehensive eyelash extension course to learn industry-standard safety measures, mapping, and sanitation practices.
Step-by-Step Guide to Applying Cluster Lashes
Achieving a flawless look requires patience, precision, and the right tools. If you are ready to try applying them at home or want to visualize the workflow, you can watch this Eyelash Extension Tutorial for a visual breakdown of handling tools and lash placement.
Below is a structured workflow to guide your application process:
- Preparation and Cleansing: Start with completely clean eyes. Use an oil-free cleanser to remove all traces of makeup, oil, and skincare residue from your eyelids and natural lashes, ensuring maximum adhesive longevity.
- Lash Mapping and Selection: Examine your eye shape and lay out your cluster sizes. Shorter clusters work best on the inner corners, while longer clusters are typically placed towards the outer edges to create an open-eyed or cat-eye effect.
- Isolating and Bonding: Using fine-tipped tweezers, gently pick up a cluster. Dip the base into a small drop of specialized lash adhesive, waiting a few seconds for the glue to become tacky.
- Placement: Place the cluster gently on top of or underneath your natural lashes, depending on whether you are using traditional strip adhesive or under-lash bond. Avoid pressing the adhesive directly onto your skin.
- Sealing and Finishing: Once all clusters are evenly distributed, use a specialized sealant or gently press the bonds together to secure the hold. Avoid getting your lashes wet for the first twenty-four hours to ensure proper curing.
Maintenance and Removal Best Practices
Proper aftercare ensures that your natural lashes remain healthy and strong beneath the clusters.
Never pull or yank your cluster lashes off, as this will strip away your natural lashes and cause permanent damage.
Instead, apply an oil-based makeup remover or specialized lash glue dissolver on a cotton pad, press it gently against the eyes for thirty seconds to break down the bond, and slide the clusters off effortlessly.
Regular cleansing and proper hygiene will keep your eyelids free from bacteria and ready for your next application.
